
Introduction: Why Everyone Loves Easy Lemon Bars
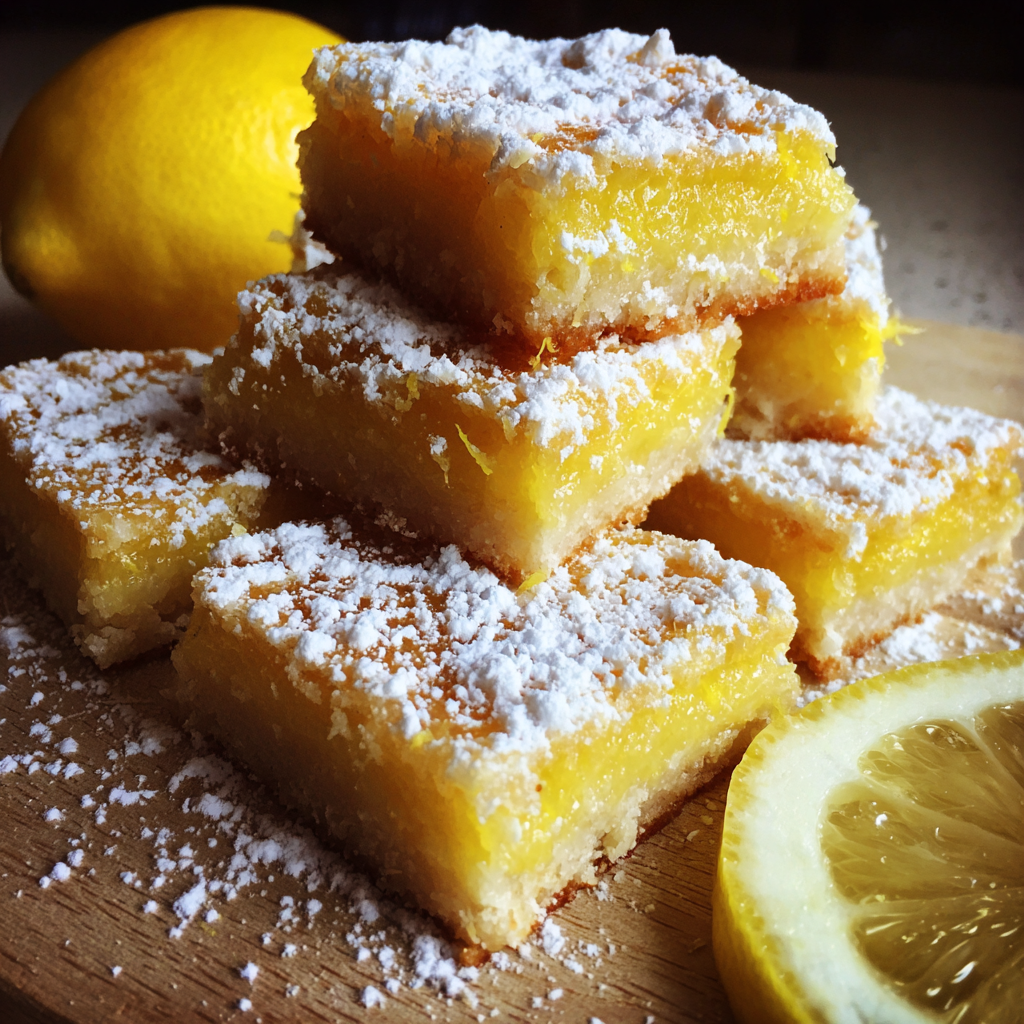
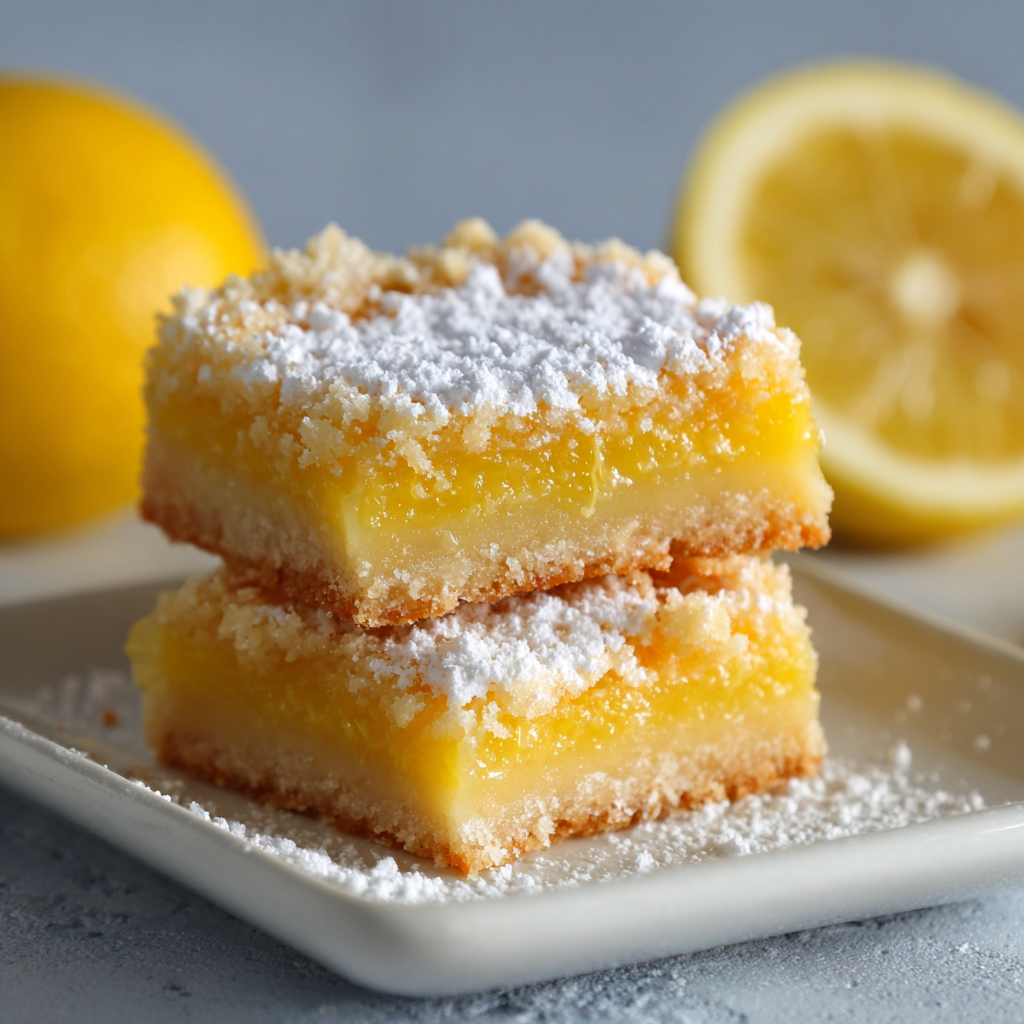
Few desserts strike the perfect balance between sweet and tangy like easy lemon bars. With their buttery shortbread crust and vibrant citrus filling, they’re the dessert that works for holidays, summer picnics, bake sales, and family dinners alike.
Not only do they taste refreshing, but they also deliver a boost of citrus-based nutrition. According to the nutritional benefits of lemons, this fruit is packed with vitamin C, antioxidants, and compounds that support immune health. That means your dessert doesn’t just taste good—it brings a touch of wellness too.
And when you look closer at lemon nutrition facts from the USDA FoodData Central, you’ll see why so many bakers prefer fresh lemons over bottled juice. The naturally occurring zest, juice, and oils in fresh lemons create a brighter, more flavorful dessert.
The History and Origins of Lemon Bars
The classic lemon bar first gained popularity in the mid-20th century, as American home bakers sought easy desserts that combined fresh flavors with pantry ingredients. Lemon desserts already had a long tradition in pies and custards, but the idea of a portable citrus square quickly became a household staple. Today, lemon bars are beloved across generations, often passed down through handwritten family recipe cards.
Key Ingredients for Perfect Easy Lemon Bars
The secret to perfect easy lemon bars lies in just a few simple ingredients. Each one plays a key role in delivering the right texture, balance, and flavor. By understanding the function of each, you’ll set yourself up for lemon bar success every time.
1. The Buttery Shortbread Crust
The foundation of any lemon bar is its crust. A good crust should be buttery, crisp, and strong enough to hold the lemon filling without becoming soggy.
Essential ingredients for the crust include:
- All-Purpose Flour – the structural base. Use regular flour for traditional bars or swap with almond flour or gluten-free blends for dietary alternatives.
- Butter – the star ingredient that gives the crust its rich, melt-in-your-mouth texture. Cold butter is best to achieve a tender bite.
- Sugar – balances tartness and adds a touch of caramelization when baked.
- Salt (optional) – just a pinch enhances the buttery flavor and balances sweetness.
💡 Tip: Pre-bake the crust until lightly golden before adding the filling. This prevents sogginess and ensures a sturdy bottom layer.
2. The Lemon Filling
The filling is what gives easy lemon bars their signature zing. It should be smooth, creamy, and bursting with citrus flavor.
Core filling ingredients include:
- Fresh Lemon Juice – always use fresh-squeezed lemons instead of bottled juice. Fresh lemons contain natural oils and zest that bottled juice can’t replicate.
- Lemon Zest – the fine outer peel of the lemon adds concentrated citrus oils and aroma, elevating the flavor to a whole new level.
- Eggs – act as a binder, thickener, and provide that custard-like creaminess. The balance of yolks and whites ensures the filling sets properly.
- Granulated Sugar – sweetens the filling and offsets the tartness of the lemons.
- Flour or Cornstarch – a small amount stabilizes the filling and prevents it from being too runny.
💡 Tip: Whisk gently. Over-beating can introduce too much air, creating bubbles or a foamy texture.
3. Optional Flavor Enhancers
For bakers who like to customize their lemon bars, a few extras can make a big difference:
- Vanilla Extract – adds warmth and depth.
- Almond Extract – provides a subtle nutty flavor that pairs beautifully with citrus.
- Coconut Flakes – for tropical lemon bars.
- Powdered Sugar Topping – a dusting of powdered sugar is the classic finish, adding a touch of sweetness and visual appeal.
4. Ingredient Substitutions for Dietary Needs
Lemon bars can be adapted to suit different lifestyles without sacrificing flavor:
- Gluten-Free – swap all-purpose flour for almond, oat, or gluten-free baking flour.
- Vegan – replace eggs with flax eggs and butter with vegan butter or coconut oil.
- Low-Sugar – substitute sugar with coconut sugar, honey, or stevia blends.
Final Thoughts on Ingredients
The beauty of easy lemon bars lies in their simplicity. With just a few pantry staples and fresh lemons, you create a dessert that’s refreshing, flavorful, and universally loved. Whether you stick with the classic ingredients or experiment with substitutions, the key is always balance: a crisp, buttery crust paired with a silky, tangy filling.
Step-by-Step Recipe for Easy Lemon Bars
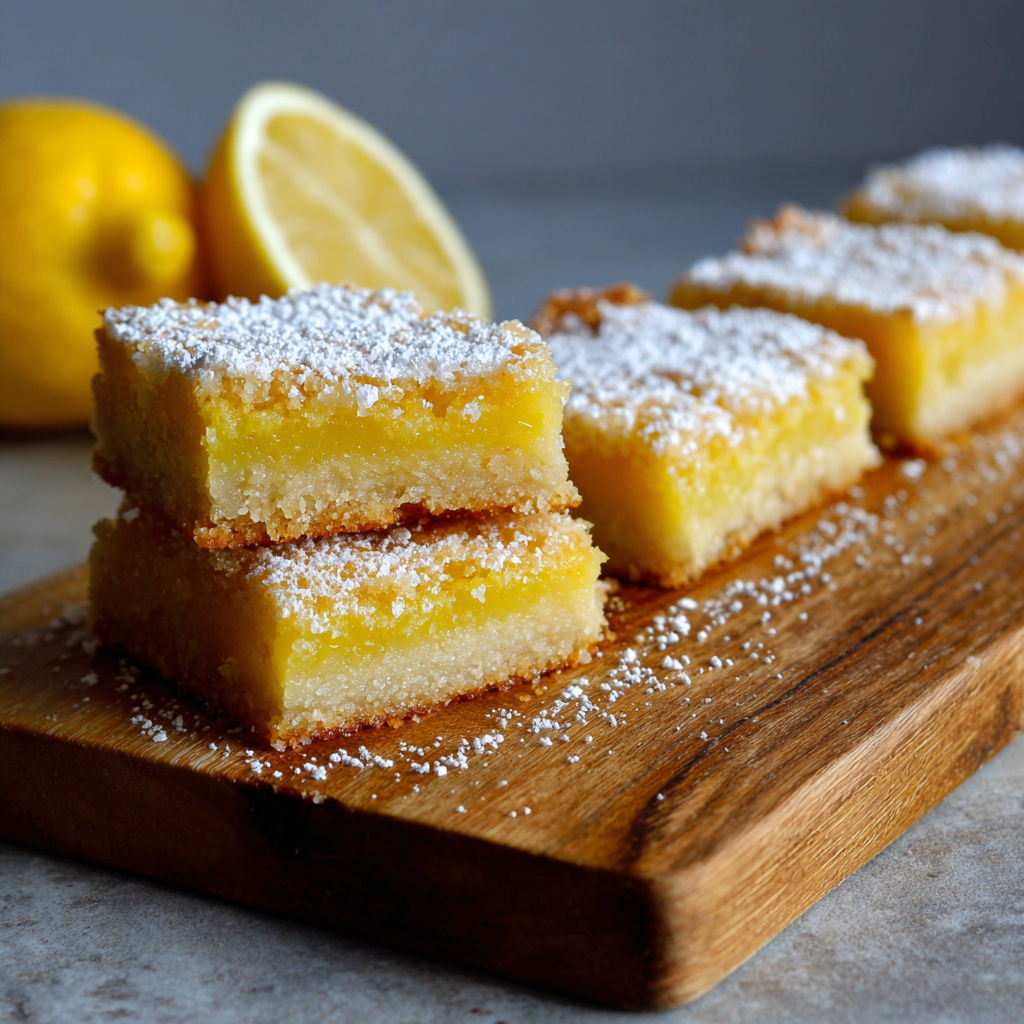
Making easy lemon bars is simpler than most desserts, yet the results are impressive enough for parties, bake sales, or family gatherings. With a buttery shortbread base and a smooth citrus filling, this recipe ensures consistent, delicious results every time.
Unlike heavy desserts such as a gooey brownie pie recipe, lemon bars are light and citrusy, making them a crowd favorite all year round. They’re also incredibly versatile—you can pair them with fresh berries or even enjoy them alongside a warm drink.
If you’re a fan of bright, fruit-forward treats, you might also enjoy trying the strawberry piña colada smoothie recipe for a refreshing twist. Both options deliver a burst of flavor that feels like sunshine in every bite or sip.
Step 1: Gather Your Ingredients
Before starting, make sure you have all the essentials ready.
For the crust:
- 1 cup all-purpose flour
- ½ cup unsalted butter (cold, cubed)
- ¼ cup granulated sugar
- Pinch of salt (optional)
For the filling:
- 3 large eggs
- 1 cup granulated sugar
- 2 tablespoons all-purpose flour (or cornstarch for extra stability)
- ½ cup fresh lemon juice (about 2–3 lemons)
- 1 tablespoon lemon zest
For finishing:
- Powdered sugar for dusting
Step 2: Prepare the Crust
The crust is the foundation of your lemon bars. It should be crisp enough to hold the filling yet tender enough to melt in your mouth.
- Preheat oven to 350°F (175°C).
- In a bowl, mix flour, sugar, and salt.
- Cut in the butter using a pastry cutter or fork until the mixture resembles coarse crumbs.
- Press evenly into the bottom of a greased or parchment-lined 8×8-inch baking dish.
- Bake for 15–20 minutes, or until lightly golden.
💡 Pro Tip: Always pre-bake the crust. This prevents sogginess and ensures a firm base for your bars.
Step 3: Mix the Lemon Filling
While the crust bakes, prepare the zesty filling.
- In a large bowl, whisk the eggs until smooth.
- Add sugar and whisk until combined.
- Stir in flour (or cornstarch) to prevent runniness.
- Add fresh lemon juice and zest for that signature tang.
💡 Pro Tip: Use freshly squeezed lemons. Bottled juice lacks the natural citrus oils and bright flavor that fresh lemons provide.
Step 4: Bake the Bars
- Pour the filling evenly over the hot crust.
- Return the pan to the oven and bake for 20–25 minutes, or until the filling is just set.
- The center may jiggle slightly, but it will firm as it cools.
If you like experimenting with creative desserts, you might want to check out the fun twist of golden grahams s’mores bars, which bring a nostalgic crunch to your sweet tooth cravings.
💡 Pro Tip: Avoid overbaking. Overcooked lemon bars lose their creamy, custard-like texture.
Step 5: Cool and Finish
- Remove from oven and let cool at room temperature.
- Chill in the refrigerator for at least 1–2 hours for clean slices.
- Before serving, dust generously with powdered sugar.
💡 Pro Tip: For neat edges, use a sharp knife and wipe the blade clean between cuts.
Final Thoughts on the Recipe
This step-by-step lemon bar recipe delivers a dessert that’s simple yet crowd-pleasing. By following each stage—pre-baking the crust, preparing the filling with fresh lemons, and cooling before slicing—you’ll achieve bars that are tangy, smooth, and perfectly balanced.
Variations on Classic Easy Lemon Bars
Want to add your own twist? Try these delicious spins:
- Cream Cheese Lemon Bars – adds richness.
- Coconut Lemon Bars – tropical flavor.
- Berry Lemon Bars – swirl in raspberry or blueberry puree.
- Vegan Lemon Bars – swap eggs for flax eggs and butter for coconut oil.
Storage, Freezing, and Make-Ahead Tips
- Store at room temperature for up to 2 days, or refrigerate for up to 5 days.
- Freeze individually wrapped bars for up to 3 months.
- For parties, bake and cut ahead, then dust with powdered sugar before serving.
Pairing Lemon Bars with Other Desserts and Drinks
- Hot drinks: coffee, black tea, chamomile.
- Cold drinks: iced tea, lemonade, sparkling water.
- Pair with shortbread cookies or light fruit salads at gatherings.
Nutritional Information & Healthier Alternatives
- A standard bar contains ~200–250 calories.
- Lower sugar options: use honey, maple syrup, or stevia.
- Reduce fat: swap some butter with Greek yogurt or coconut oil.
Common Mistakes When Making Lemon Bars
- Undercooked crust: leads to sogginess.
- Overbeaten eggs: can make filling foamy.
- Not cooling fully: causes messy slices.
- Using bottled juice: reduces flavor and freshness.
FAQs
Why are my lemon bars runny?
They may be underbaked or missing enough flour/cornstarch in the filling.
Can lemon bars be made ahead of time?
Yes, they can be refrigerated for up to 5 days or frozen for longer storage.
Do lemon bars need to be refrigerated?
Yes, for food safety and to keep the filling set.
Can I use lime instead of lemon?
Absolutely! You’ll get a tart lime bar variation.
How do I keep lemon bars from sticking to the pan?
Line your pan with parchment paper for easy removal.
Why is my lemon filling separating from the crust?
This usually happens if the crust wasn’t baked long enough before adding the filling.
Conclusion
Easy lemon bars are the perfect blend of bright citrus flavor and buttery sweetness. They’re quick to make, endlessly versatile, and always a crowd favorite. With the right ingredients, storage methods, and a few pro tips, you’ll have a dessert that shines at any occasion.